Editing events
Add event
-
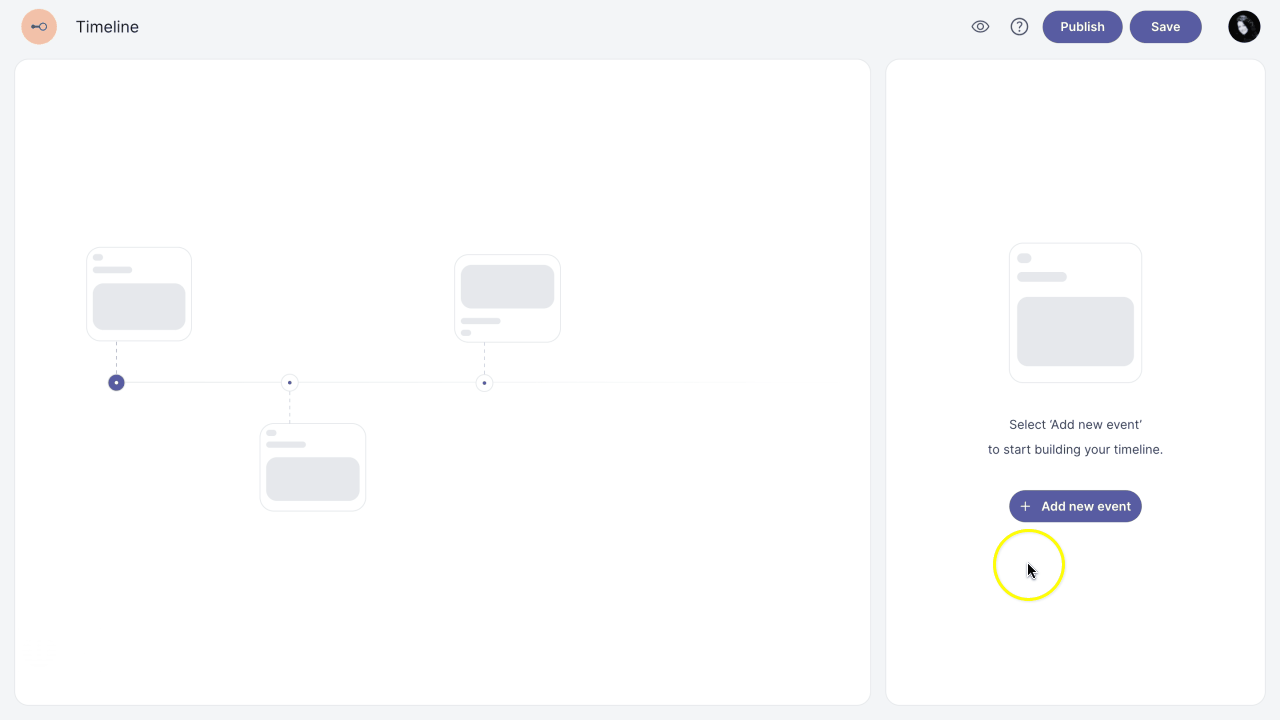
To add a new event, click the Add new event button at the bottom of the events panel.
-
Select a month, day, and year to set the date.
Entering a date is mandatory to create a timeline.
After adding an event, you can edit it by adding an image, title, and event content.
Edit event
-
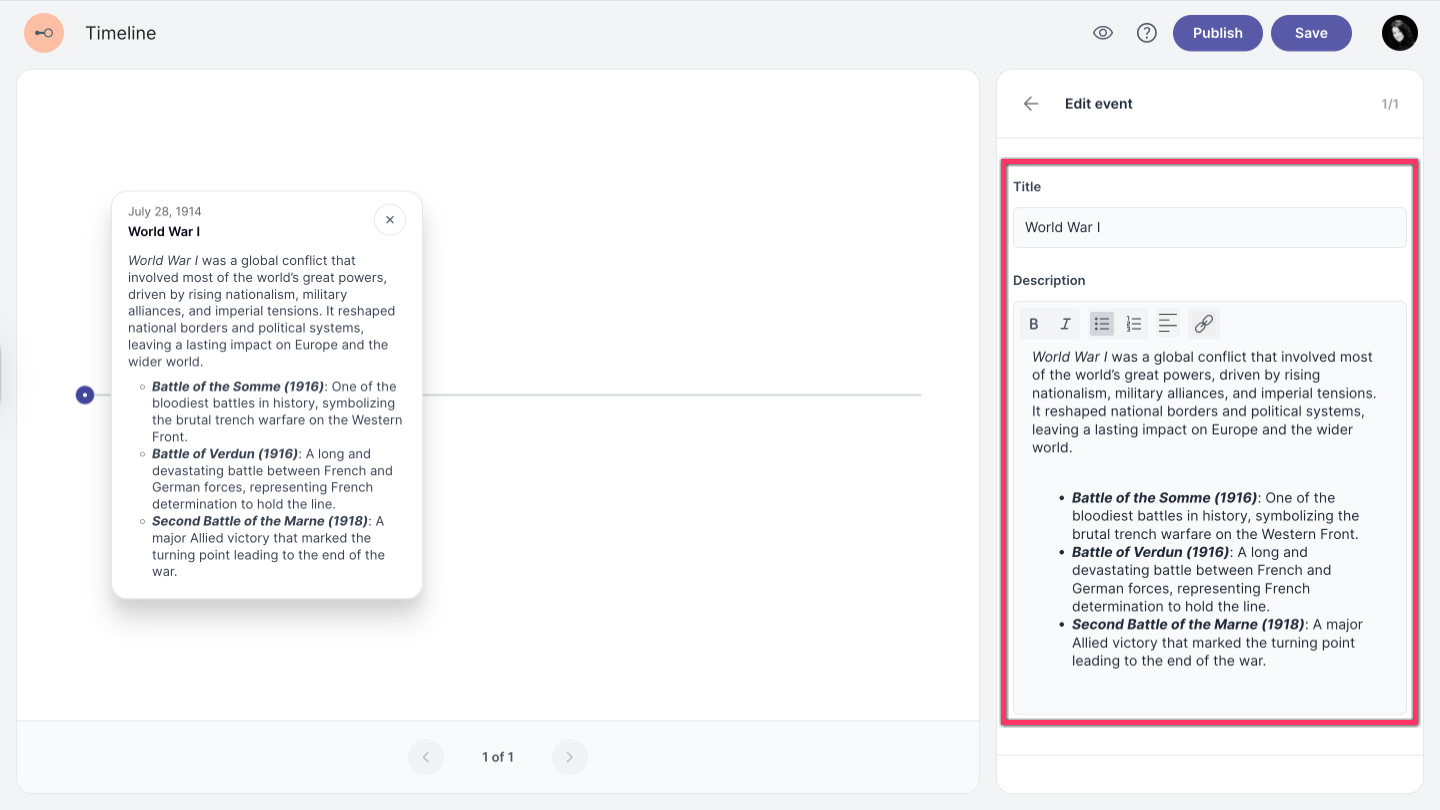
In the events panel, click the edit icon edit to open the event editor.
-
To add a Title and Description, click the corresponding fields and enter your text.
You can format text using bold, italics, lists, alignment options, or adding link.
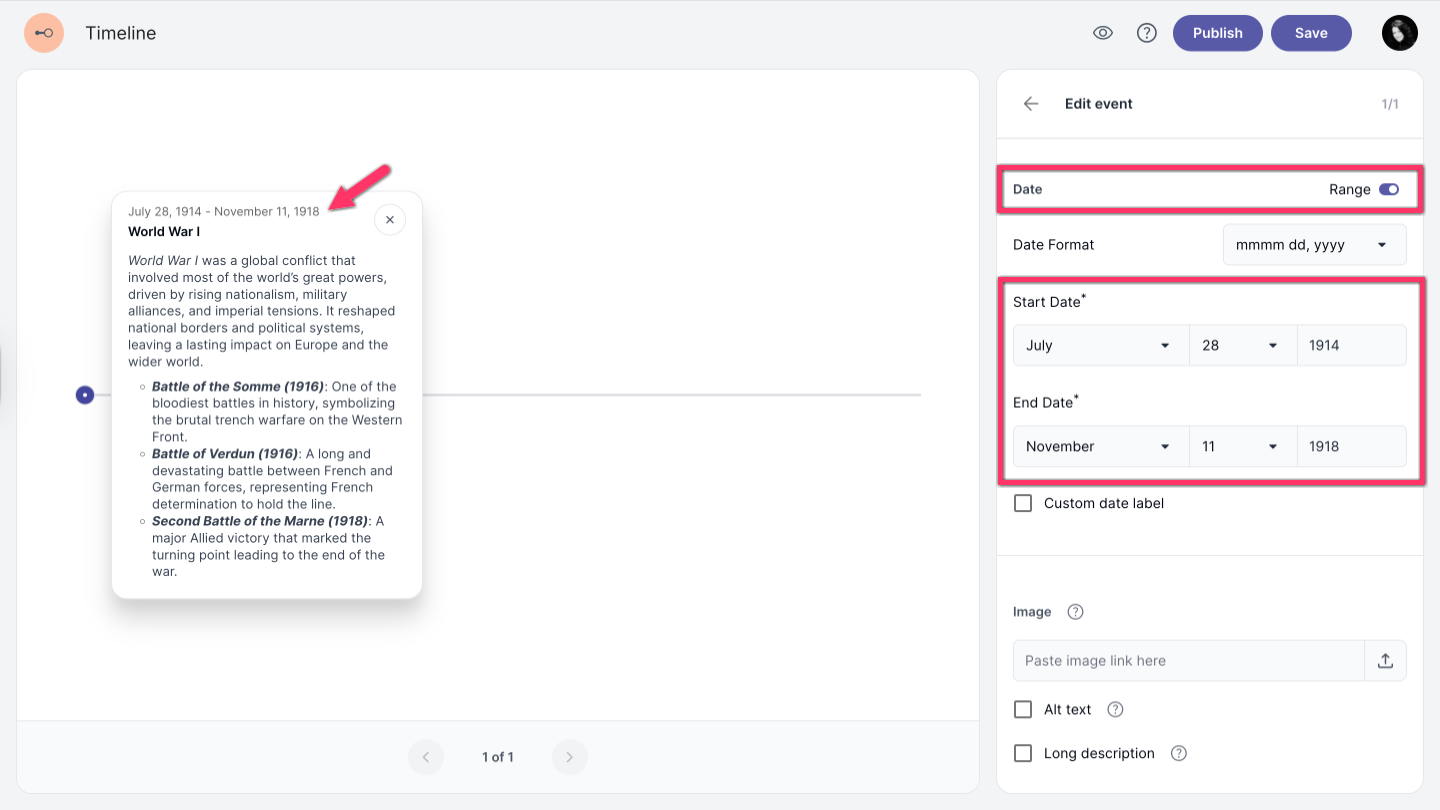
Date range
To define a date range, enable the Range option and set the Start Date and End Date.
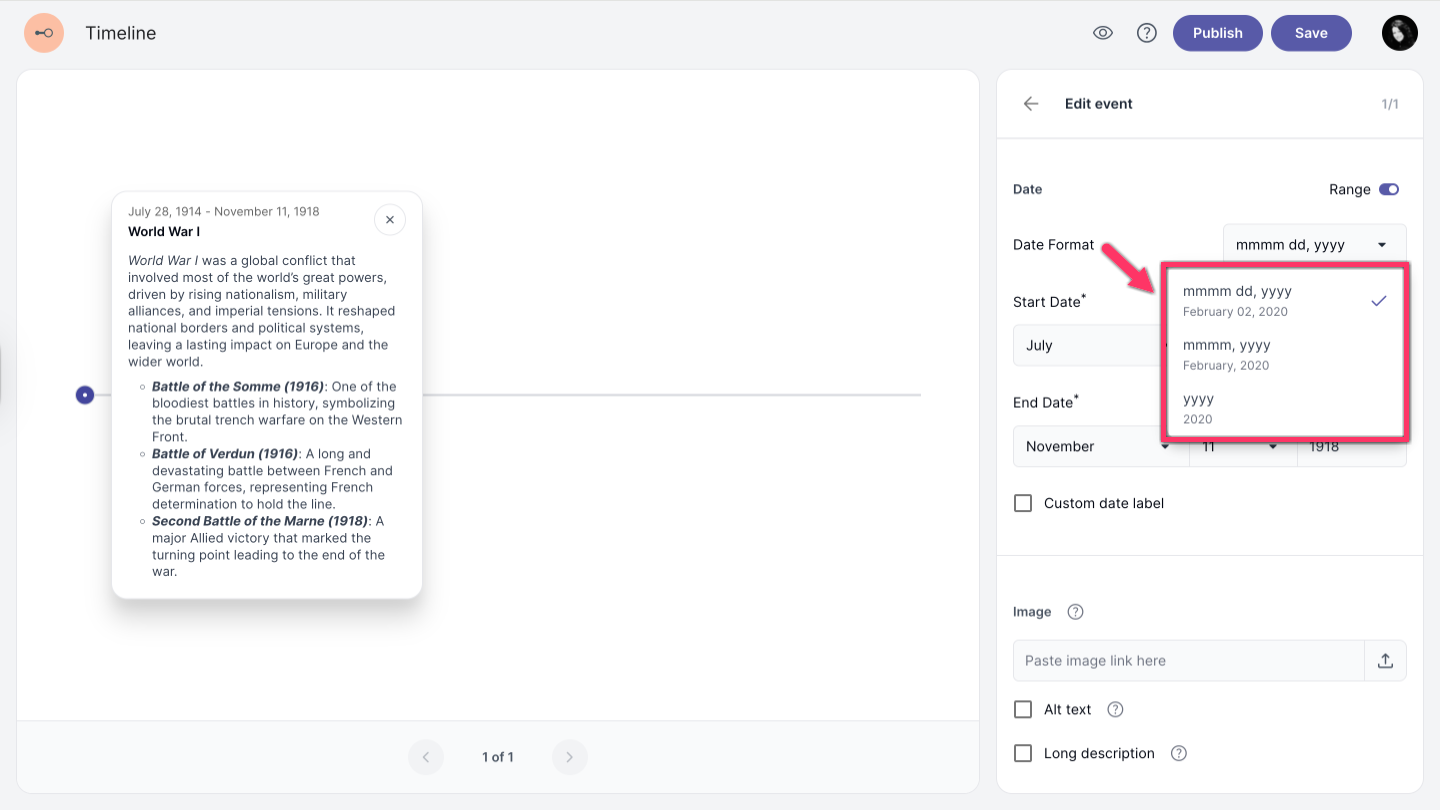
Date format
Choose from three available formats to display dates in your timeline.
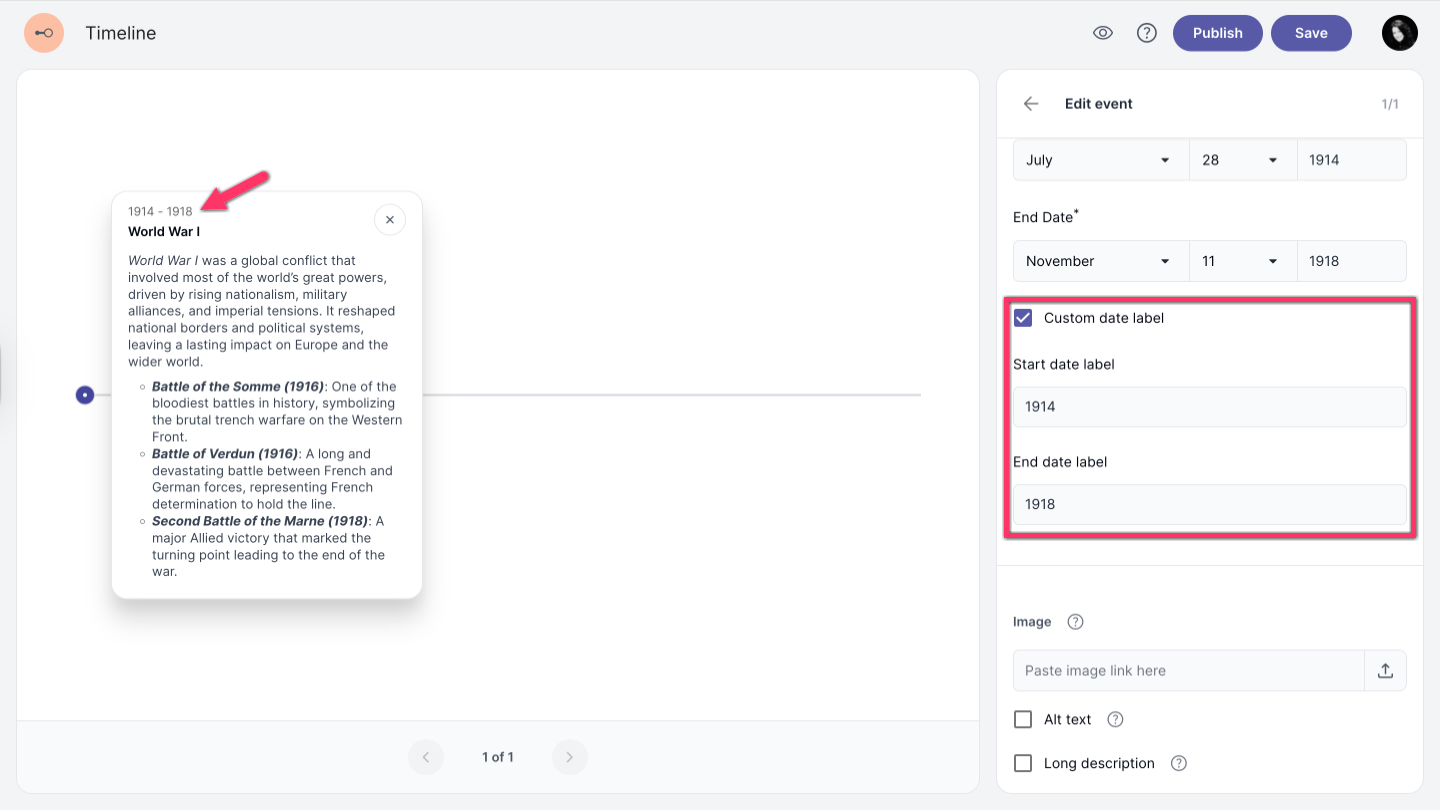
Custom date label
Enable this option to add a custom label for your event date.
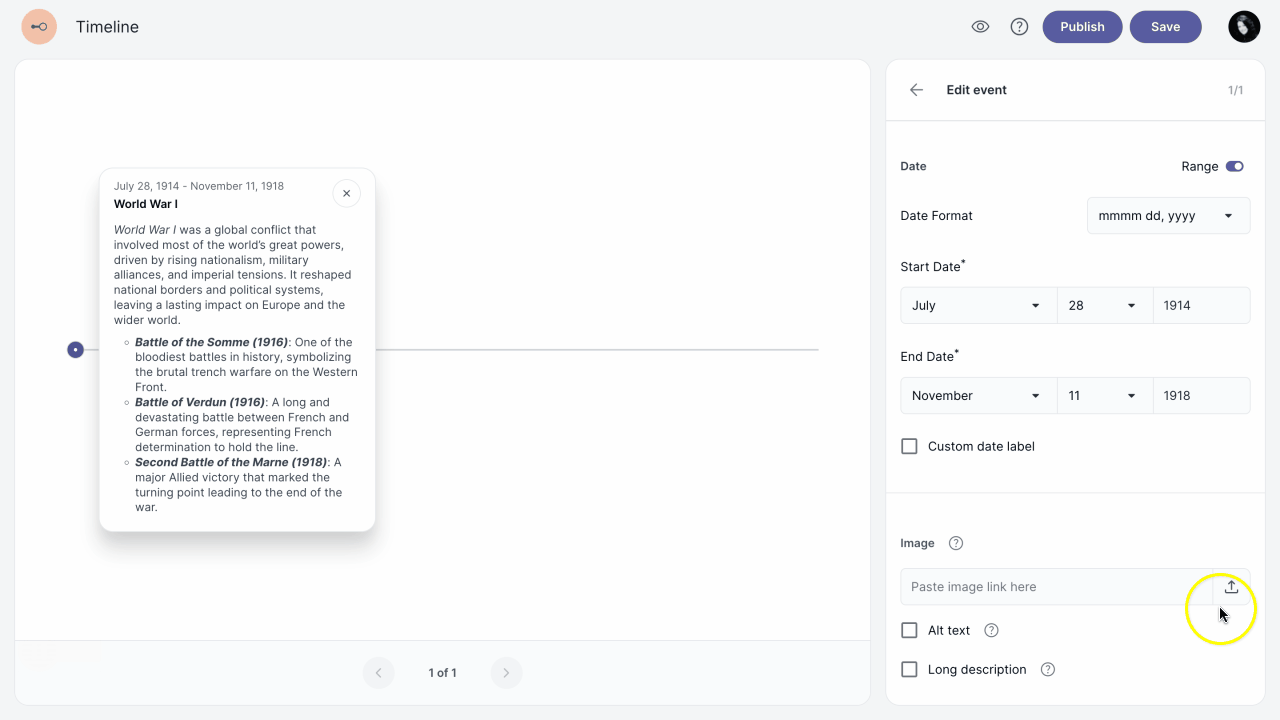
Add image
-
Add an image by pasting a URL or uploading a file from your computer.
-
To add Alt text or a Long description, enable the options and enter the corresponding text.
Alt text is used by screen readers to describe images for users with visual impairments.
Long description provides a more detailed explanation of complex images for assistive technologies.
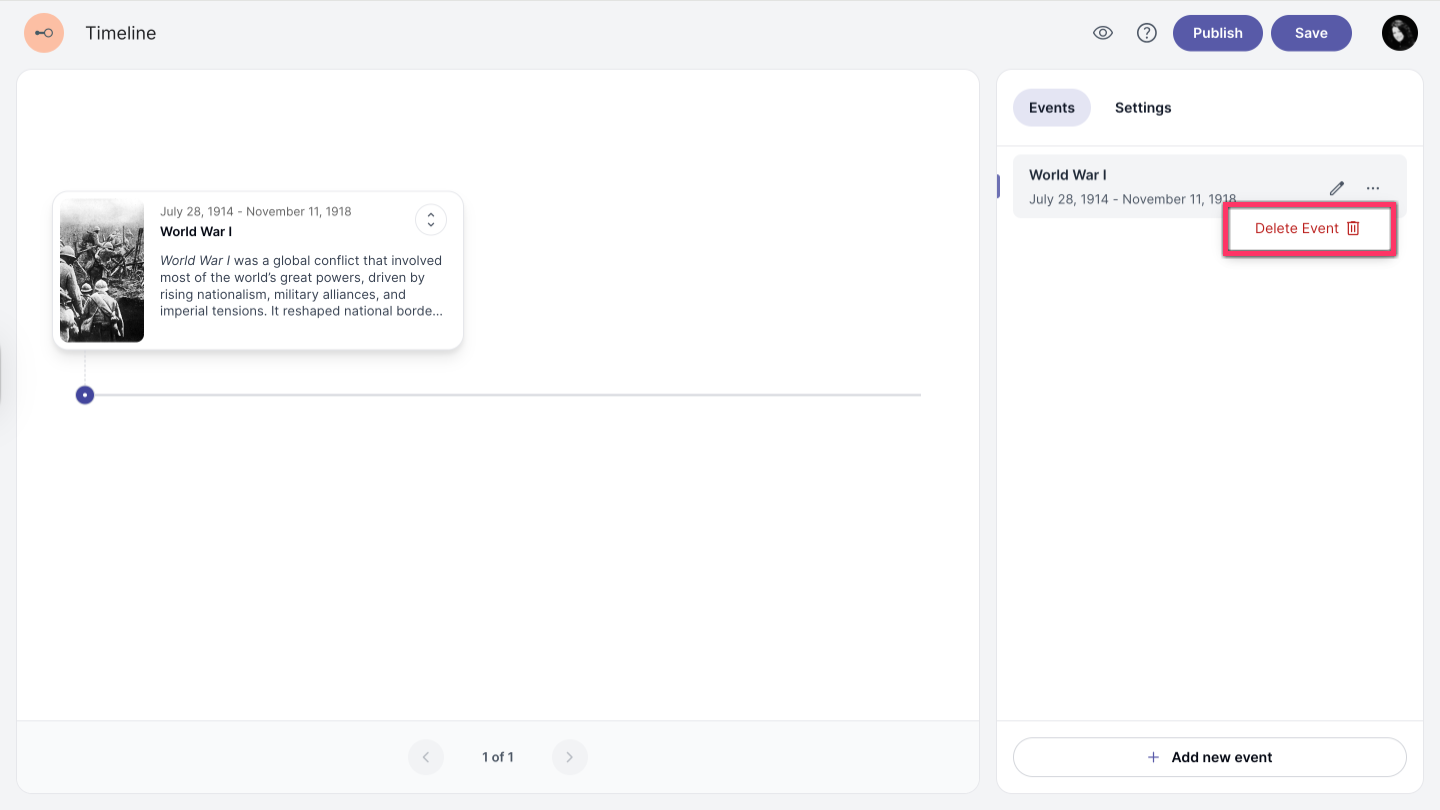
Delete event
To delete an event, click the more options icon more_horiz and select Delete event.