Editing scenes
Add scene
-
To add a new scene click on the Add new scene button at the bottom of the scenes panel.
-
Insert an artifact with a URL or upload it from your computer.
Artifacts can be an image or a Vizualist chart, map, or table.
-
Click the Insert button.
To add more scenes, simply repeat the steps above.
After adding a scene, you can now edit it, for example, manage the artifact, add an info box and annotations.
Edit artifact
-
In the scenes panel, click the arrow next to the scene you want to edit.
-
Click the
 icon to open the scene editor.
 -
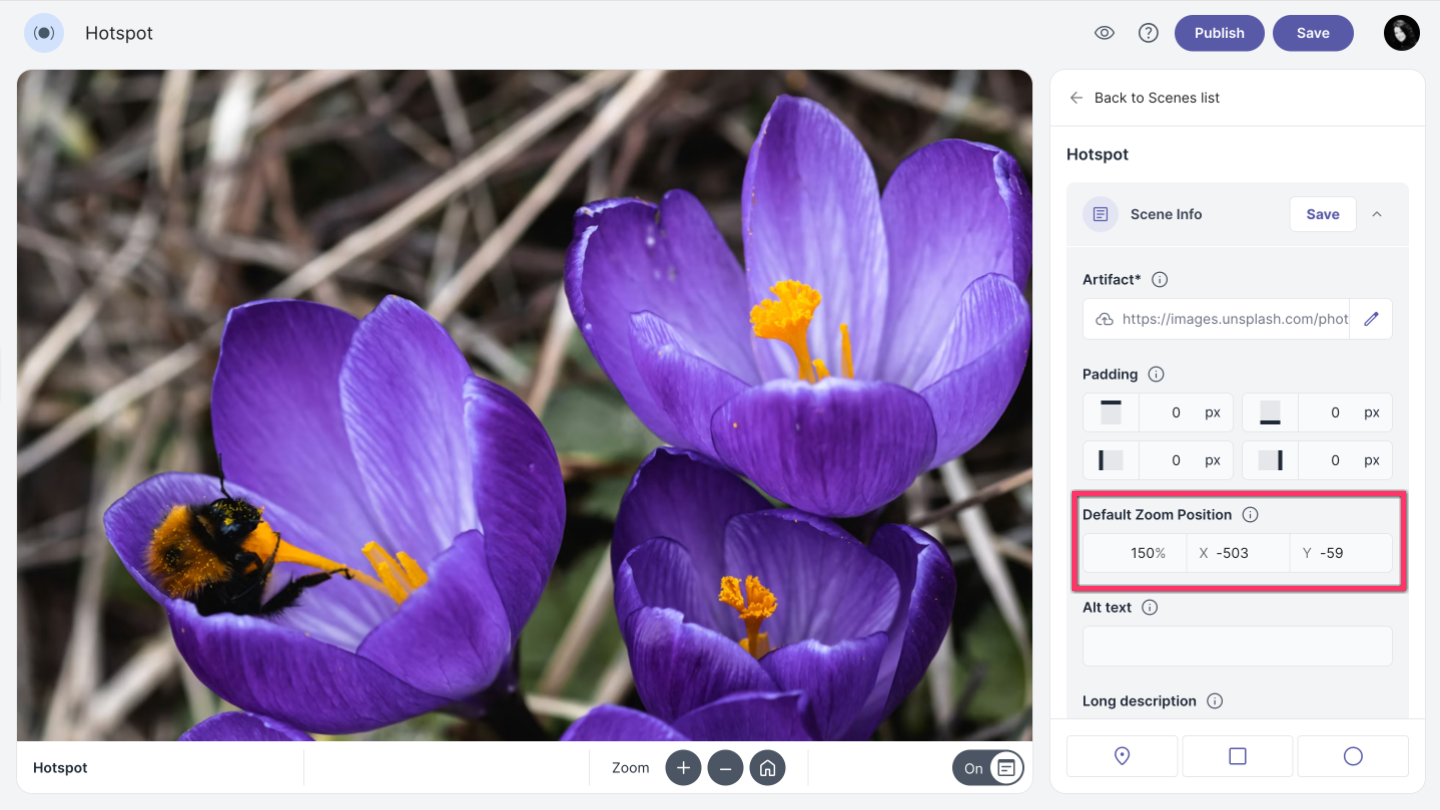
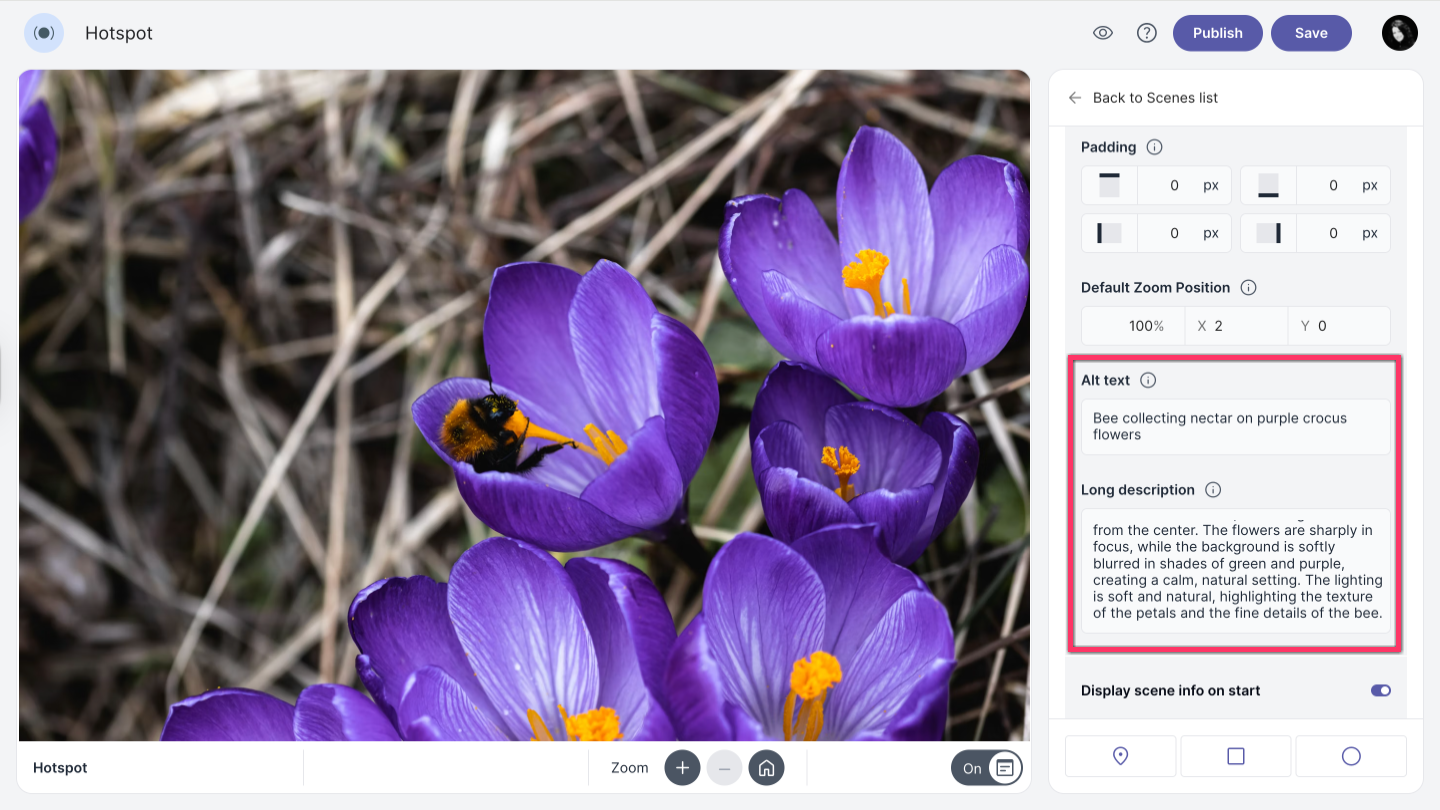
Use the Padding and Default Zoom Position options to adjust the artifact if needed.
The Padding options allow you to move the artifact by adding a specific number of pixels to each side: top, bottom, left, and right.
The Default Zoom Position options allow you to change the size of the artifact by adjusting the percentage. You can also reposition the artifact by entering values for the X and Y axes in the coordinate system.
-
To add Alt text or a Long description, click in the corresponding text fields and enter your text.
Alt text is accessed by screen readers for people who might have trouble seeing your content.
Long description is an extended text alternative that fully explains the content and purpose of a complex image or graphic for users of assistive technologies.
Scene info box
-
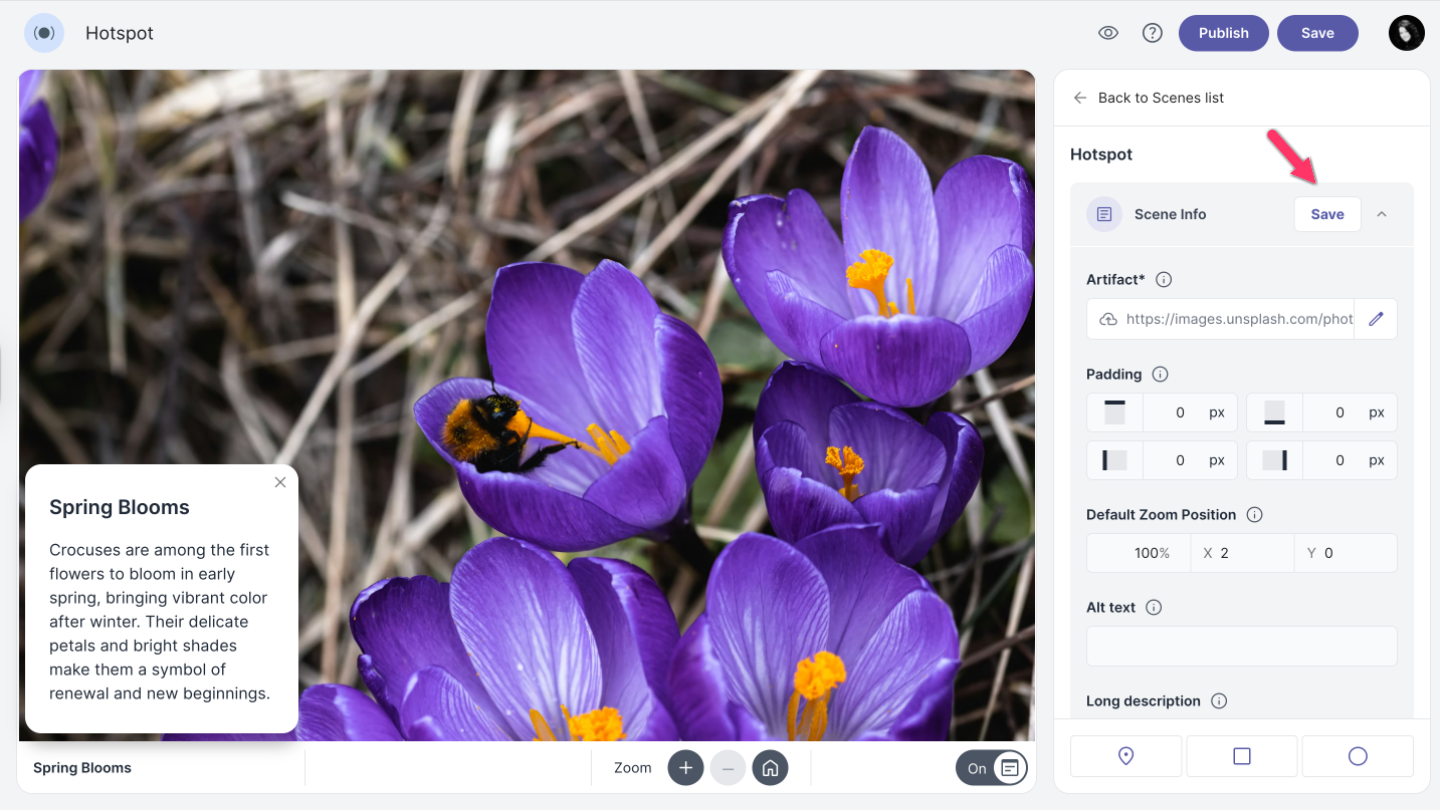
In the Scene Info Title field, enter the title of your scene.
This title will appear in the navigation bar at the bottom and in the info box if it is added. If it is not defined, the title will be taken from the hotspot name.
-
Enable the Scene Info Box option to add an info box to the scene.
-
Click on text, video, audio, or image button to add content to the scene info box.
You can format your text by making it bold or italic, turning it into a list, choosing the text alignment, or adding a link. For image, paste image URL from website or upload from your computer. Supported image formats are JPG, PNG and SVG. For audio or video, simply copy the link and paste the link into the provided field.
Add multiple content blocks if needed.
-
Use the arrow buttons next to each block to change the order of the content.
-
To remove a content block, click more_horiz and select Delete block.
Display scene info on start
To show the info box when the scene loads, keep Display scene info on start enabled. If this option is disabled, the info box will not appear automatically. Instead, a marker will appear in the left corner of the scene. Click the marker icon to open the info box.
Marker color
You can change the color of the marker icon if desired. When the marker is selected, the background and icon colors will be reversed.
![]()
Saving changes
To save all changes you made to your scene, click Save at the top of the scene editor.
Duplicate scene
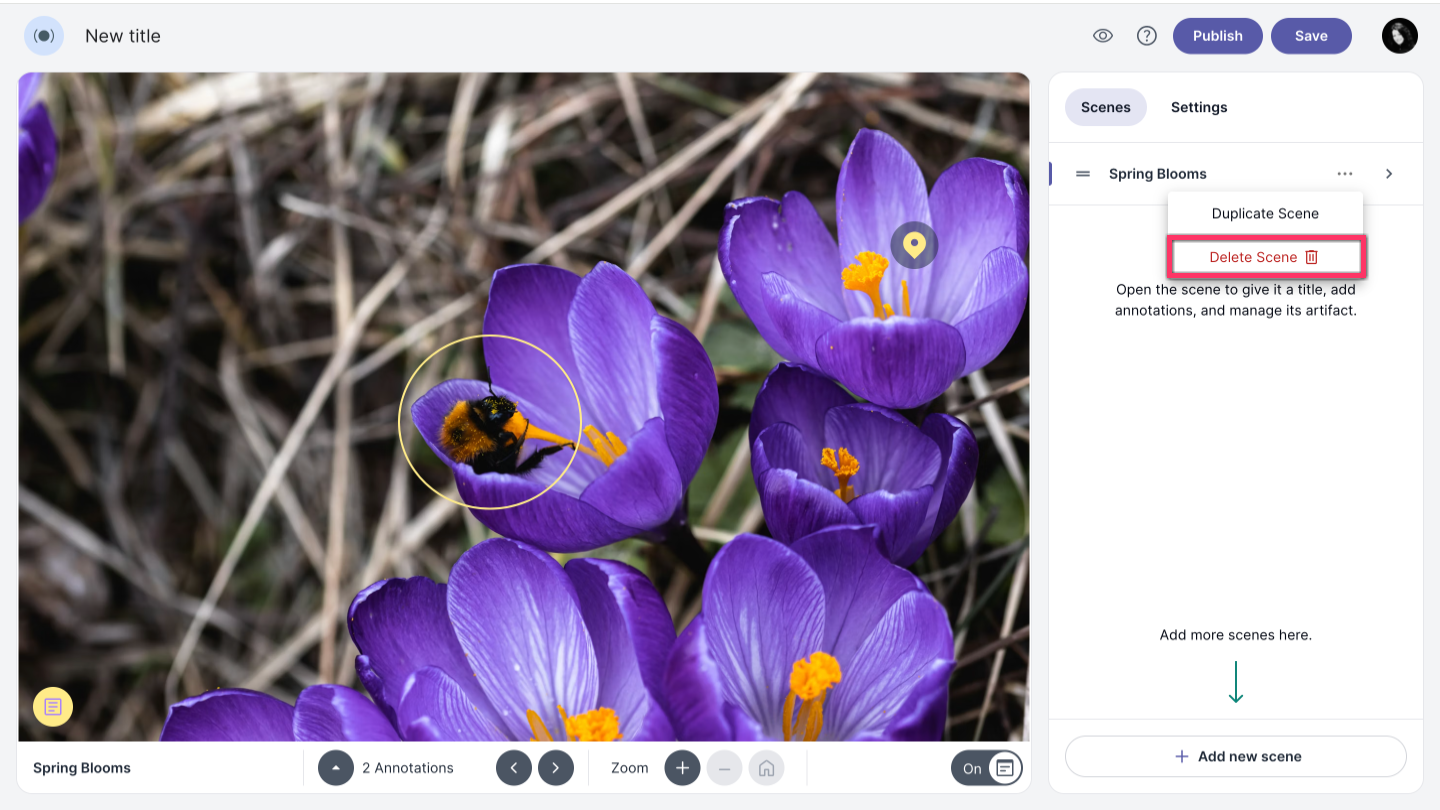
To duplicate a scene along with all its settings, click the more_horiz and select Duplicate Scene.
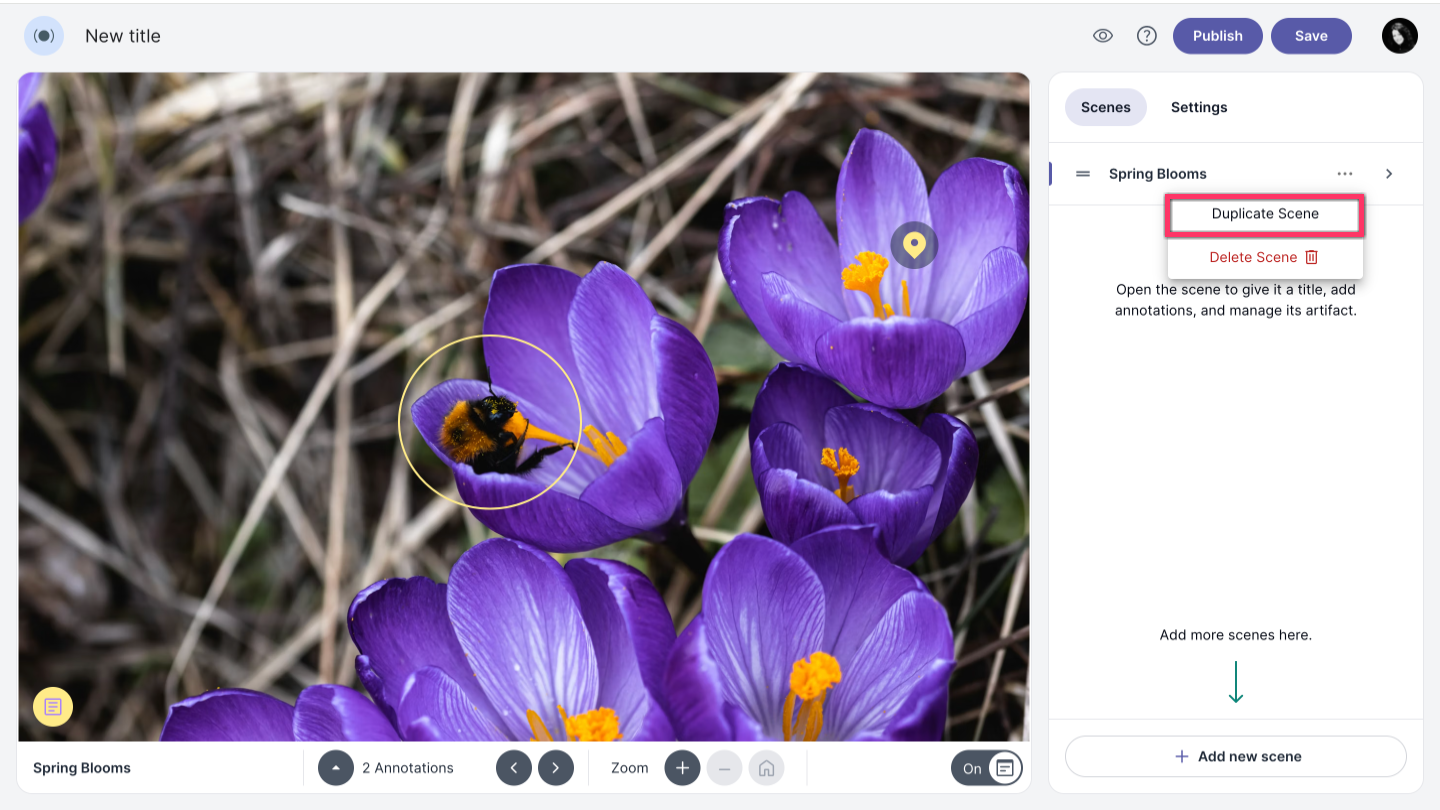
Delete scene
To delete a scene, click the more_horiz and select Delete Scene.